Repairs · Tay
Garage Door Bottom Seal Replacement in Tay
Every mild afternoon the snow melts off the car, runs to the door, and by morning the rubber strip along the bottom is frozen to the concrete. Last week the opener lifted the door and left half the seal on the floor.
Garage Door Bottom Seal Replacement
In plain words
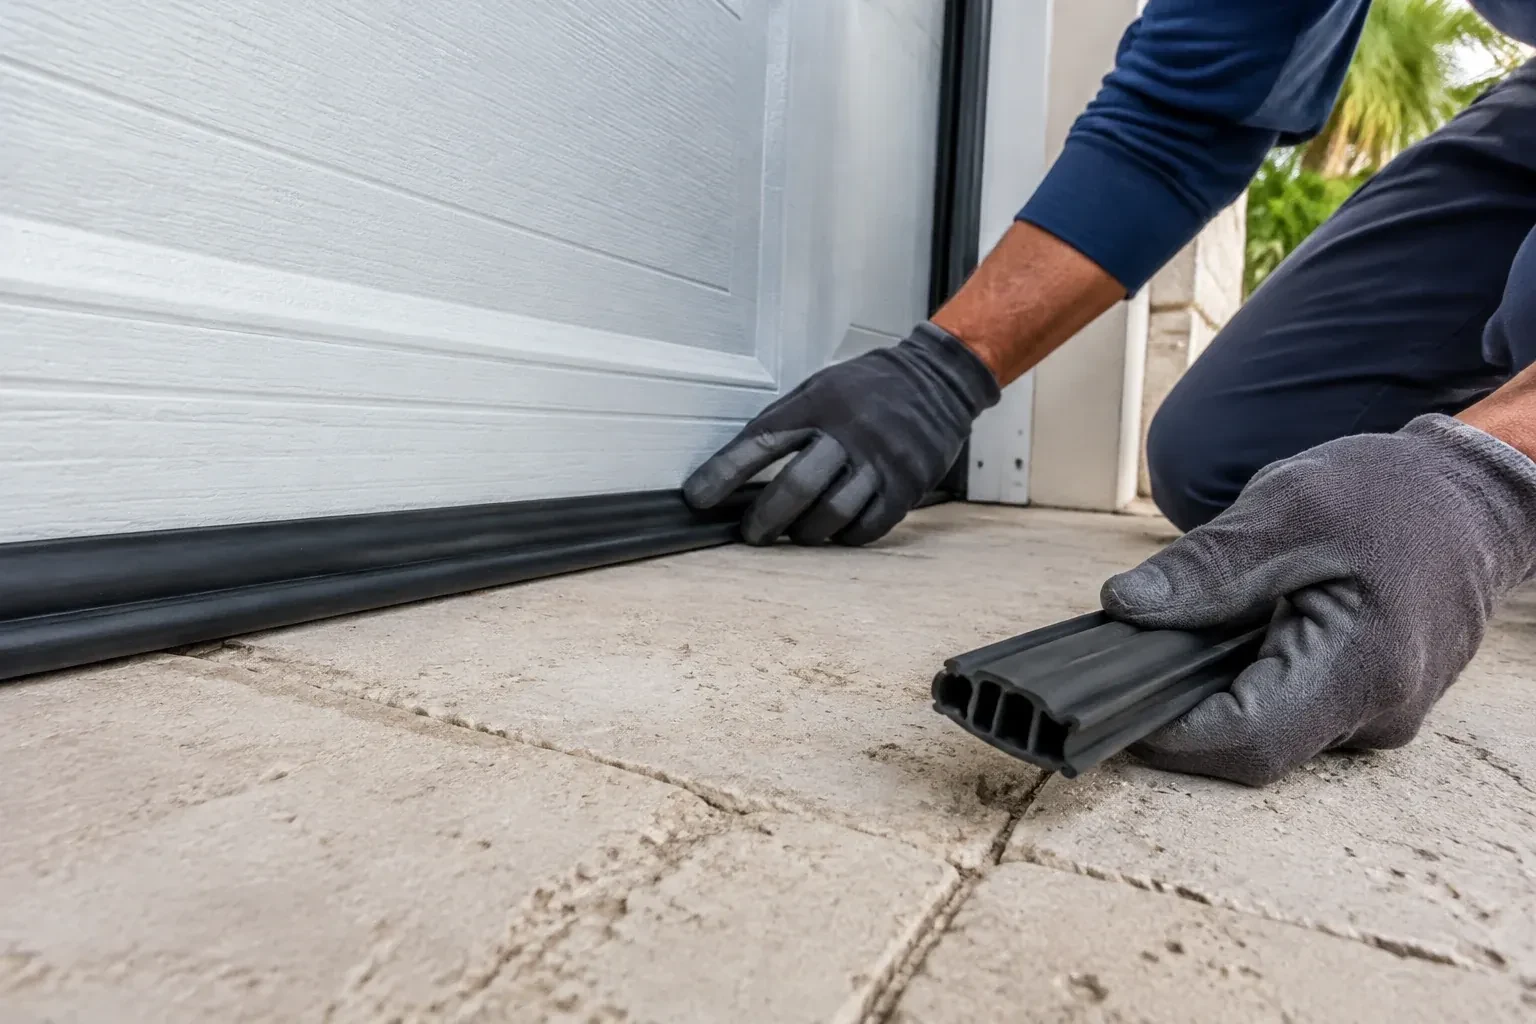
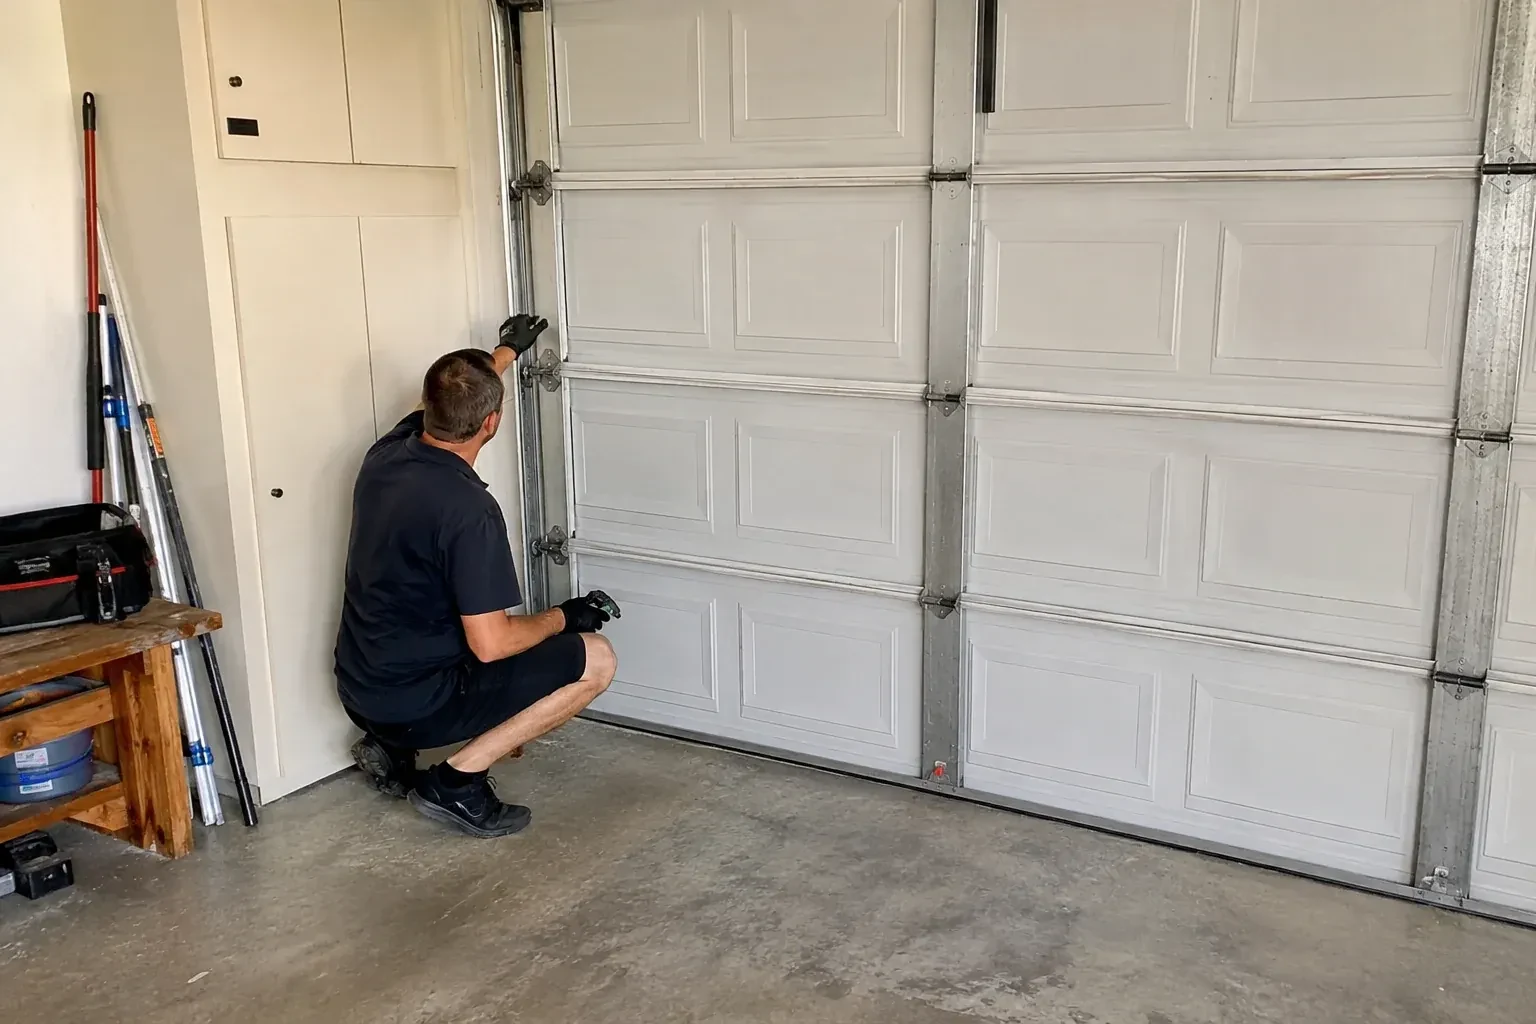
A seal visit runs in a set order. With the door closed, the technician looks for daylight along the floor line and notes whether the gap is even or concentrated at one point. The door is checked for level and the bottom section for straightness, then the retainer is identified and measured. The opener is disconnected and the door secured before the old strip comes out and the channels are cleaned. A new seal, cut a little long, is fed into the channels and trimmed. Finally the door is closed onto the new seal, the opener's limits are reset, and the reversing test is run before the tools go away.
How the visit goesThe strip under the door has gone as hard as a hose left out for ten summers. Press it and it does not give; bend it and it cracks. Where the door meets the floor it sits on the concrete without squashing at all.
Tay
How the visit goes
Why the old seal failed
The old strip is read for its history before it comes off. Cracks along the fold and a chalky surface point to sun and age. A flattened bulb that no longer springs back is compression set. A torn edge at one end usually means the seal froze to the floor and the opener pulled it free. Chew marks say rodents. A strip that has slid partly out of its channel points to a bent or opened retainer, or to a seal that was slightly the wrong size. Each of these leads to a different choice of material, profile or retainer work, so the new seal is spared the fate of the old one.
Adding a threshold seal on a difficult floor
Where the slab slopes toward the garage or has a dished edge, a threshold seal glued to the floor follows the existing contour and gives the bottom strip a raised, consistent edge to meet, rather than levelling the floor itself. The floor line is marked with the door closed, the concrete is swept and cleaned for the adhesive, and the threshold is dry-fitted and trimmed against each jamb. Adhesive is laid along the underside, the threshold pressed down, and the door lowered onto it while it sets. The result is a small raised lip on the outside that turns water back to the driveway and a bottom seal that lands on a consistent edge along its length.
A door that meets the floor in one line
The first thing you notice is the absence of daylight. With the door closed and the lights off, the floor line is dark from one jamb to the other, and the draft that used to move across the floor is much reduced. The door lands softly, because the opener now stops when the seal is gently compressed rather than driving the section into the concrete. Leaves, grit and drifting snow are kept out far more often. If you crouch and look, the new bulb sits evenly along the slab, filling the low corner the old strip used to hover above.
Garage Door Bottom Seal Replacement
In the van
- T-style bottom seal
- Aluminum bottom seal retainer
- Wire brush and scraper
- Self-drilling retainer screws
- Bead-style bottom seal
What affects the quote
Same fees day, night or weekend
1Condition of the old seal
A supple strip slides out in a minute. One that has hardened and seized in its channel, or been torn and frozen into the corners, has to come out in pieces, which takes longer.
2Wood door nail-on strip
A wood door with a nailed strip takes a different product and more fastening time than a channel seal, and adding a retainer to a wood rail is a further option to consider.
3Retainer replacement
If the aluminum or plastic retainer is bent, spread open or corroded, a new extrusion, fasteners and the time to fit it straight along the rail are added as their own line.
Garage Door Bottom Seal Replacement: questions
Does the opener need adjusting after the seal is changed?
Usually, yes. A new seal is taller than the flattened one it replaces, so the door reaches the floor sooner. Left alone, the opener either presses too hard and bows the bottom section or senses the resistance and reverses. The technician resets the down limit so the seal compresses gently, checks the force, and runs the reversing test with a 38 mm (1.5 in) solid object or a 2x4 laid flat under the door so the safety features still behave as they should.
Will I need a new retainer as well as a seal?
Only if the existing one is damaged, and most are reused. A retainer that is straight, tight to the rail and free of heavy corrosion stays. One that has been kinked by a bumper or shovel, spread open so the seal slips out, or eaten by salt is replaced with a matching aluminum extrusion so the new seal seats properly. The inspection at the start of the visit settles which applies.
What is the difference between T-style, bead and bulb seals?
The names describe the edge that grips the retainer and the shape of the part that meets the floor. A T-style seal has T-shaped edges that slide into slotted channels along the bottom rail. A bead seal has round edges for the rounder channels found on many older steel doors. A bulb, or U-style, seal is a larger tube that compresses further and suits rough or dished floors. The retainer on your door decides which one fits.
Repair & Maintenance
Garage Door Bottom Seal Replacement near you
Garage doors in Tay go through the same cycle: hardware wears, springs tire, openers age, and eventually the door itself is due. We offer a service for each stage, so you can maintain what you have, repair what has failed, or replace the door when that is the sensible choice.